0%

Angular 6 服务端渲染之 udao 终章

先介绍下小朋友 udao,首先是一个开源项目,代码足够简单,其次是跟随 Angular 大小版本一起成长的项目,会定期更新所有依赖包以及兼容最新版本的写法

Github 地址也贴出来好多次了:https://github.com/OrangeXC/udao

本来行文目的只是新框架推出,本着学习的目的自己搞个东西出来玩,文章只是记录项目的开发更迭过程,以及遇到的坑。

udao 系列文章有

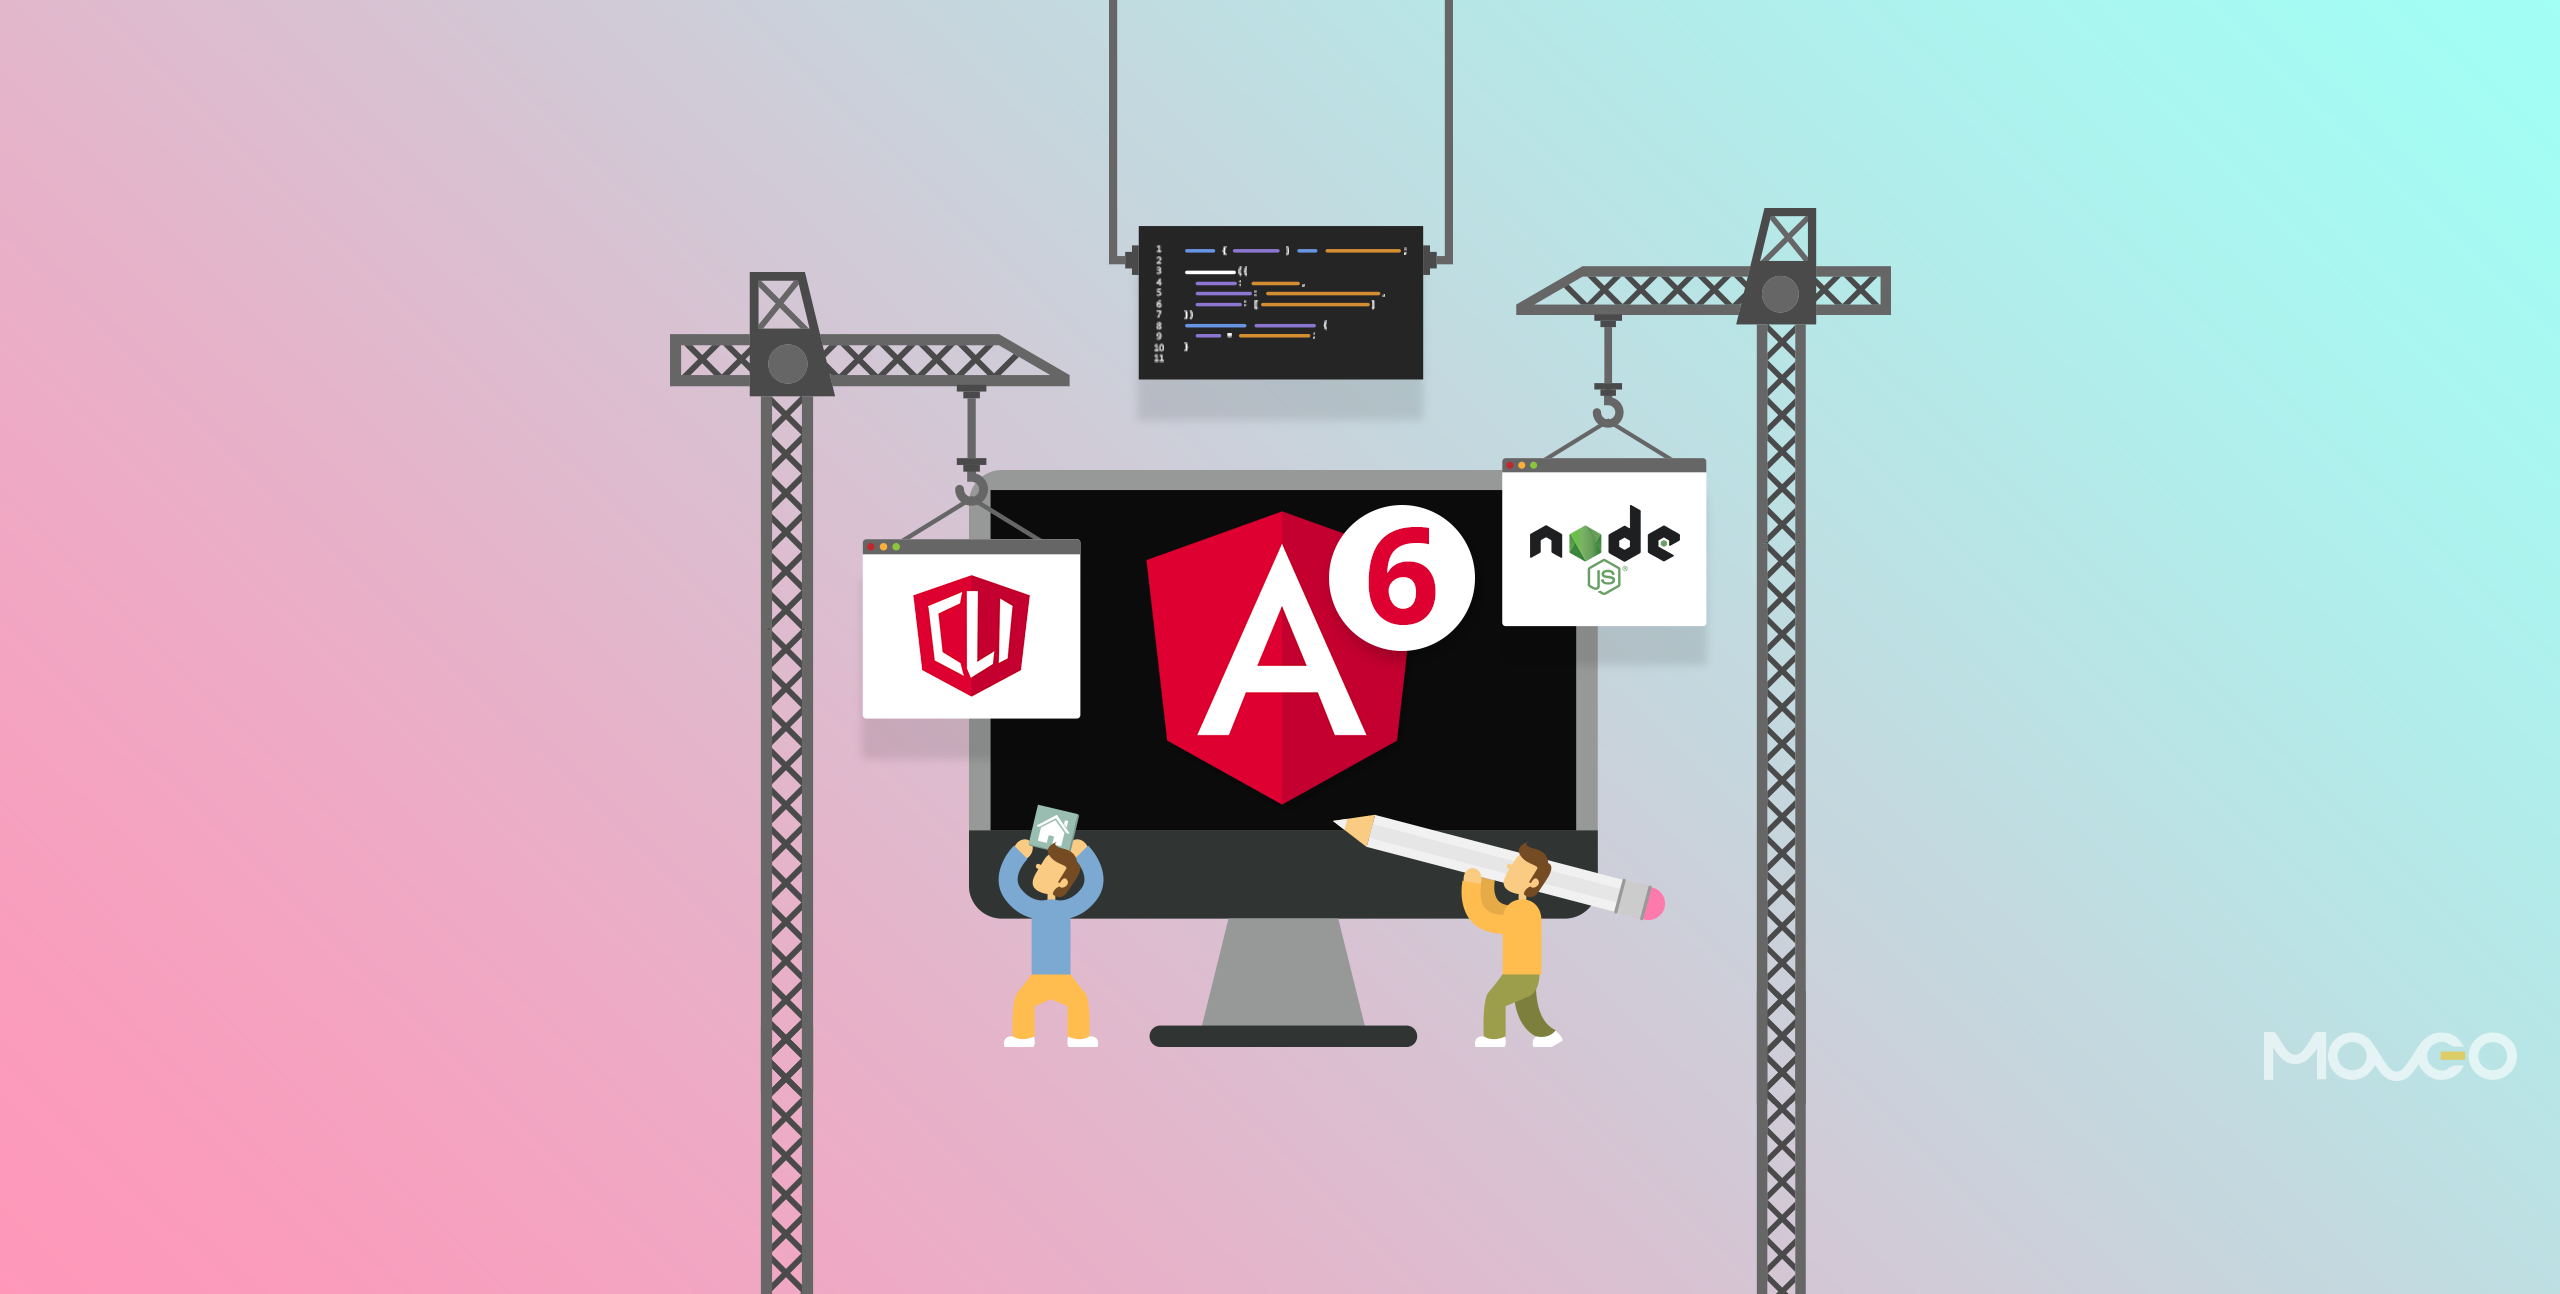
从 Angular 5 写到 6,逐步扩展 PWA,SSR 等,今天有读者提了一个 issue,跟着历史文章一步一步学习发现文章写的是 Angular 5,但是 github 项目已经升级到了 Angular 6,是不是要保留多个版本分支?

我的回答是否定的,Angular 版本更迭之快想必大家都了解,每次大小版本的更新我都会在 github 上修改代码,但是不会一直出更新文章,因为每次更新的可能就几行代码,循序渐进的更迭,更希望读者能多一分敏锐的嗅觉,与框架相关的的实战类文章总有退出江湖的一天,取决于框架的升级更新和框架的衰亡,相信当今翻阅 jquery 的实战文章的人寥寥无几,Angular 目前正处于半年一大版的节奏,既然观察到 Angular 6 推出了,准备学习 Angular 5 文章之前就应该先看下作者的项目链接是不是 Angular 5 的项目,况且项目只是参考,写文章想引出更多的是踩坑的过程。

唠叨了这么多之后,正如标题 终章 udao 系列文章到本篇结束,以后每个版本会持续更新迭代到 github 上,升级的代码变化可以顺着 git commit 记录查到

升级依赖

首先升级 angular-cli 到最新版本的 6.0,升级之前记得先卸载清 cache

全局

1
2
3
4
npm uninstall -g @angular/cli
npm cache verify
# if npm version is < 5 then use `npm cache clean`
npm install -g @angular/cli@latest

本地

1
2
3
rm -rf node_modules dist # use rmdir /S/Q node_modules dist in Windows Command Prompt; use rm -r -fo node_modules,dist in Windows PowerShell
yarn add @angular/cli@latest
yarn

运行 ng update --all,从 angular-cli 1.7 开始支持 update,具体参数见https://github.com/angular/angular-cli/wiki/update

运行 --all 目的是修改 package.json,否则只提示不修改,亲测这个 --all 参数有坑,会报各种异常,升级版本后还会重复提示升级,遇到警告可以采用降级方案,直接 ng update,根据提示一个一个去 package.json 里修改,再报错就是和这个方法无缘了,采用远古时期方案去 npm 官网一个个查出最新版本更新上去。

注:typescript 停留在 2.7.2,即可不要升级到 2.8+,yarn 会报警高,也就是 angular-cli 的无脑 bug,ng update --all 建议升级到 2.8.3 不升级它就不往下跑,升级完 2.8.3 安装 yarn 又警告被依赖的 typescript 版本应该 >2.7 & <2.8。

顺利升级完所有依赖后,别忘了加几个依赖上去

  • yarn add @nguniversal/express-engine
  • yarn add @nguniversal/module-map-ngfactory-loader
  • yarn add @angular-devkit/build-angular -D
  • yarn add webpack -D
  • yarn add webpack-cli -D

服务端入口

本次升级服务端渲染借助 @nguniversal 实现

首先将 server.ts 从 src 目录移动到根路径,并修改如下

1
2
3
4
5
6
7
8
9
10
11
12
13
14
15
16
17
18
19
20
21
22
23
24
25
26
27
28
29
30
31
32
33
34
35
36
37
38
39
40
41
42
43
44
45
46
47
48
49
50
51
52
53
// These are important and needed before anything else
import 'zone.js/dist/zone-node';
import 'reflect-metadata';

import { enableProdMode } from '@angular/core';

import * as express from 'express';
import { join } from 'path';

// Faster server renders w/ Prod mode (dev mode never needed)
enableProdMode();

// Express server
const app = express();

const PORT = process.env.PORT || 4000;
const DIST_FOLDER = join(process.cwd(), 'dist');

// * NOTE :: leave this as require() since this file is built Dynamically from webpack
const { AppServerModuleNgFactory, LAZY_MODULE_MAP } = require('./dist/server/main');

// Express Engine
import { ngExpressEngine } from '@nguniversal/express-engine';
// Import module map for lazy loading
import { provideModuleMap } from '@nguniversal/module-map-ngfactory-loader';

app.engine('html', ngExpressEngine({
bootstrap: AppServerModuleNgFactory,
providers: [
provideModuleMap(LAZY_MODULE_MAP)
]
}));

app.set('view engine', 'html');
app.set('views', join(DIST_FOLDER, 'browser'));

// TODO: implement data requests securely
app.get('/api/*', (req, res) => {
res.status(404).send('data requests are not supported');
});

// Server static files from /browser
app.get('*.*', express.static(join(DIST_FOLDER, 'browser')));

// All regular routes use the Universal engine
app.get('*', (req, res) => {
res.render('index', { req });
});

// Start up the Node server
app.listen(PORT, () => {
console.log(`Node server listening on http://localhost:${PORT}`);
});

此文件需要 webpack 单独打包,由于升级到了 webpack 4,原来的 webpack 3.x 语法需要稍作修改

webpack.config.js 更名为 webpack.server.config.js,准确表达打包的目标

1
2
3
4
5
6
7
8
9
10
11
12
13
14
15
16
17
18
19
20
21
22
23
24
25
26
27
28
29
30
31
32
const path = require('path');
const webpack = require('webpack');

module.exports = {
entry: { server: './server.ts' },
resolve: { extensions: ['.js', '.ts'] },
target: 'node',
mode: 'none',
// this makes sure we include node_modules and other 3rd party libraries
externals: [/node_modules/],
output: {
path: path.join(__dirname, 'dist'),
filename: '[name].js'
},
module: {
rules: [{ test: /\.ts$/, loader: 'ts-loader' }]
},
plugins: [
// Temporary Fix for issue: https://github.com/angular/angular/issues/11580
// for 'WARNING Critical dependency: the request of a dependency is an expression'
new webpack.ContextReplacementPlugin(
/(.+)?angular(\\|\/)core(.+)?/,
path.join(__dirname, 'src'), // location of your src
{} // a map of your routes
),
new webpack.ContextReplacementPlugin(
/(.+)?express(\\|\/)(.+)?/,
path.join(__dirname, 'src'),
{}
)
]
};

整个服务端入口完成了,下面搞一下服务端打包

服务端打包

服务端渲染项目,大家印象比较深刻的地方就是,客户端和服务端分别打两个 bundle,分别供浏览器和服务器执行。

这里也不例外

src 下面的 main.server.ts 指向了打包入口

1
export { AppServerModule } from './app/app.server.module';

看下 src/app/app.server.module 里面有哪些修改

1
2
3
4
5
6
7
8
9
import { ModuleMapLoaderModule } from '@nguniversal/module-map-ngfactory-loader';
...
@NgModule({
imports: [
...
ModuleMapLoaderModule
]
...
})

增加了 ModuleMapLoaderModule 作用是使用模块映射代替原来的模块懒加载,加快 node 环境下的运行速度,整个 bundle 打包下来只有一个 js 文件 6M 多

客户端入口

客户端部分和上一版 Angular 5 的项目差不多,这里面优化了 module 的拆分,将 router 和 ui 部分抽离到单独的文件再引入,使得 app.module 文件不那么臃肿。

添加了 console 记录页面的渲染环境

1
2
3
4
5
6
7
8
9
export class AppModule {
constructor(
@Inject(PLATFORM_ID) private platformId: Object,
@Inject(APP_ID) private appId: string) {
const platform = isPlatformBrowser(platformId) ?
'in the browser' : 'on the server';
console.log(`Running ${platform} with appId=${appId}`);
}
}

配置文件

代码层面的修改,上面介绍的差不多了,接下来是配置文件,从命名到写法都是 breaking change

首先根路径下 .angular-cli.json 更名为 angular.json

1
2
3
4
5
6
7
8
9
10
11
12
13
14
15
16
17
18
19
20
21
22
23
24
25
26
27
28
29
30
31
{
"$schema": "./node_modules/@angular/cli/lib/config/schema.json",
"version": 1,
"newProjectRoot": "projects",
"projects": {
"udao": {
"root": "",
"sourceRoot": "src",
"projectType": "application",
"prefix": "app",
"schematics": {},
"architect": {
"build": {},
"serve": {},
"extract-i18n": {},
"test": {},
"lint": {},
"server": {
"builder": "@angular-devkit/build-angular:server",
"options": {
"outputPath": "dist/server",
"main": "src/main.server.ts",
"tsConfig": "src/tsconfig.server.json"
}
}
}
},
"udao-e2e": {}
},
"defaultProject": "udao"
}

这个文件具体怎么从 angular 5 版本迁移过来的,因为没有迁移文档说明,干脆用最新的 cli 新建一个项目,把对应的值和入口替换,上面经过精简的 json 关键是 architect 里的 server,作用是指明服务端构建的工具,入口,出口,配置项。

一眼看上去与原来的配置文件相比,多了一层 projects,也就是支持多项目构建。

PWA 升级

这也是 udao 进阶 PWA 的点睛之笔,升级过程更是 angular-cli 本次升级的精华所在。

升级之前把原来所有与 PWA 配置相关的代码全部删除,切忌保留任何相关代码,否则会带来不必要的麻烦,事先最好先卸载已有的 @angular/pwa 包,清理完毕后只需要一行代码搞定 PWA

1
ng add @angular/pwa --project *project-name*

没错,项目里 PWA 相关的代码都填充到对应位置了,什么都不用修改。

这个 PWA 和 SSR 本身有那么一点冲突,怎么讲呢,两者同样是为了加快页面首屏速度,@angular/pwa 中的 service-worker 扩展默认会把 html 文件缓存到本地,这个 html 的内容部分是空的,每次访问网页时 service-worker 先进行请求拦截,把空内容页面抛出来,数据请求完全发生在前端,而我们希望的 SSR 是首屏请求在 node 端完成,直出完整 html,页面也不会 loading 和白屏,但是不加 PWA 又不能离线和缓存其它资源,好吧,这些细节上的问题可能没那么多人关心,当然有更好的解决方案欢迎交流。

语法变化

rxjs 升级到 6.x 引入方式和用法需要调整,项目太大不想调整的话 rxjs 提供了降级兼容方案 rxjs-compat,直接 npm 安装即可。

更新脚本

既然入口文件和配置文件都做了相应的修改,那 npm 的 script 命令也要跟着更新一波了

1
2
3
4
5
6
7
8
9
{
"scripts": {
"dev": "ng serve",
"start": "node dist/server.js",
"build:ssr": "run-s build:client-and-server-bundles webpack:server",
"build:client-and-server-bundles": "ng build --prod && ng run udao:server",
"webpack:server": "webpack --config webpack.server.config.js --progress --colors",
},
}

注:到这里运行 npm run build:ssr 即可整体打包,不可将 build:client-and-server-bundleswebpack:server 调换位置,因为 server.ts 入口文件中有对打包好的 server bundle 的引用 require('./dist/server/main')

总结

到这里 udao 小朋友成功的从 Angular 5 成功迈向了 Angular 6,也是本系列的最后一篇终章,总之 Angular 6 也有被历史淘汰的一天,拥抱变化吧,喜欢玩 Angular 最新版本的欢迎关注一波 Github,这里并没有鼓吹大家 fork 和 star,感兴趣就随便看看,也没达到让大家作为范例的程度,整体来讲版本的更新非常及时,功能的更新非常缓慢。